Orient constraint problem

Hi!
I could use some help here…
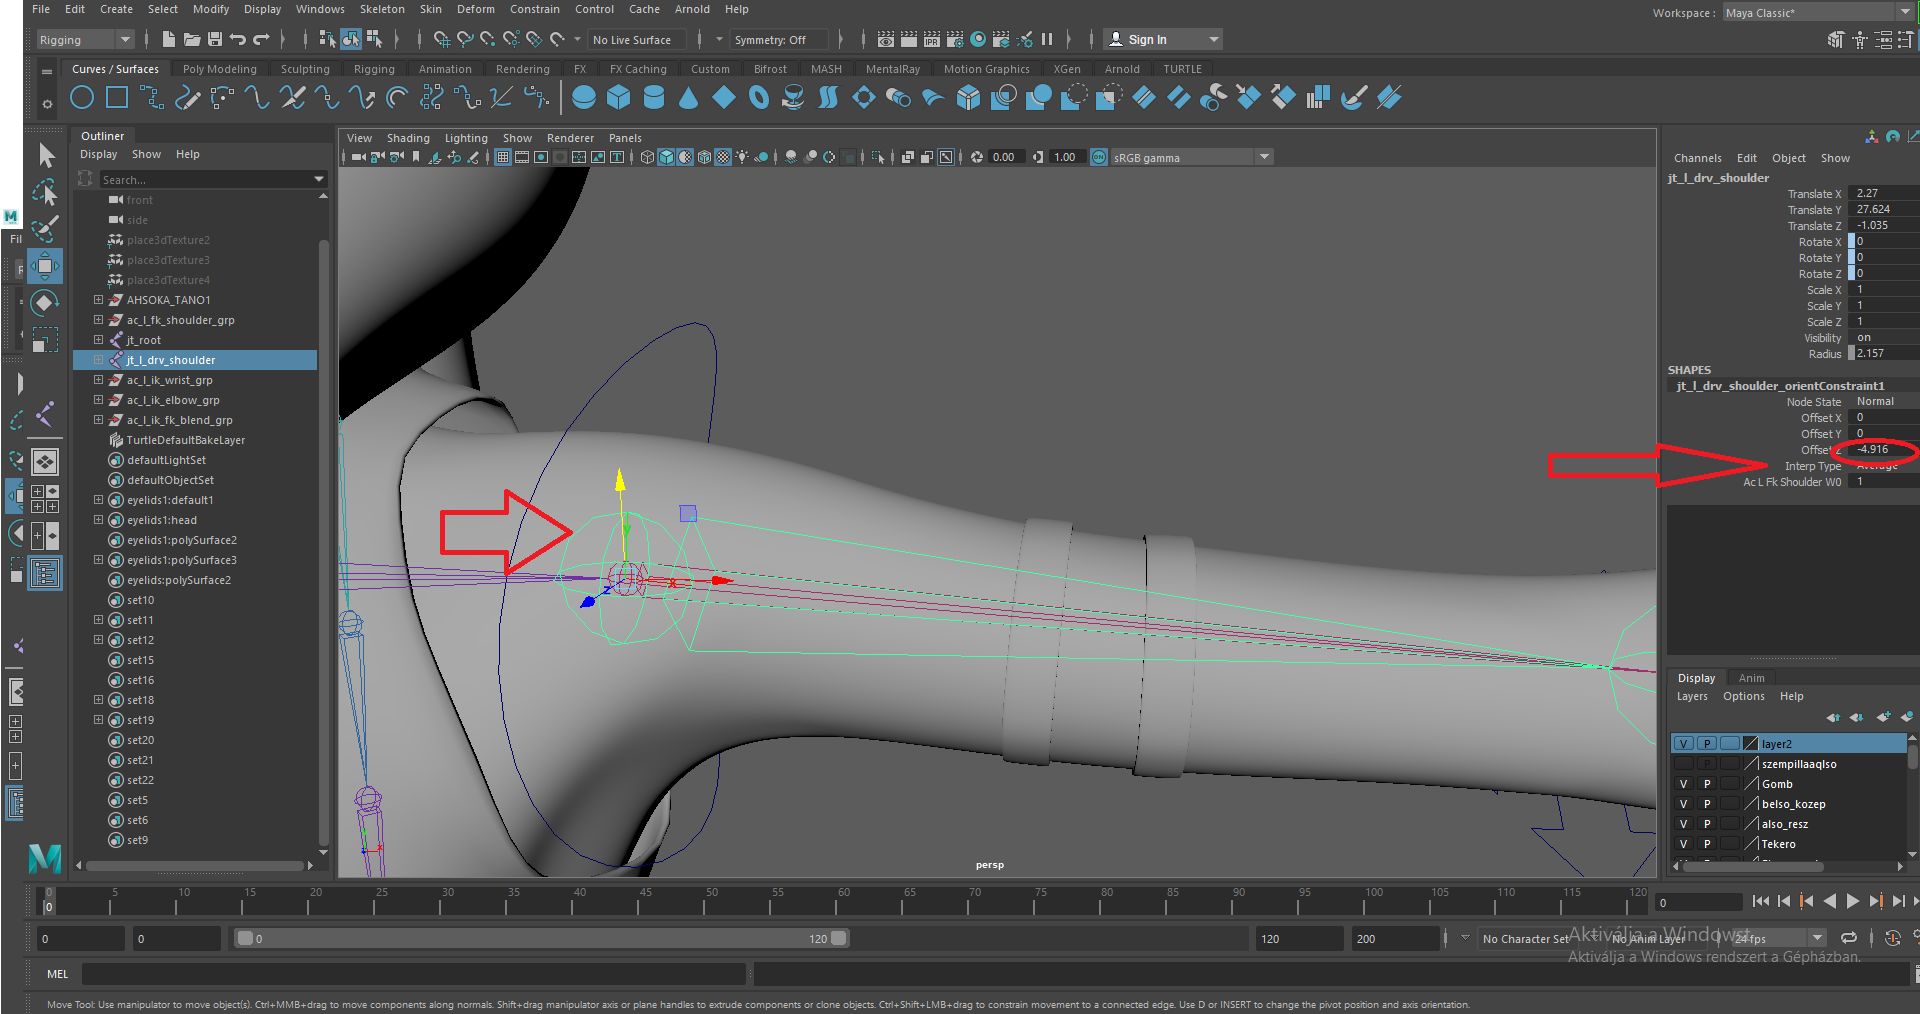
I am watching a tutorial about rigging a character.

When I connect the controller curve “ac_l_fk_shoulder” and the joint “jt_l_drv_shoulder” with an orient constraint, it changes the direction of the joint. I also tried turning on “maintant offset” to keep the direction, but the joint input “offset Z” is not zero. Is this a problem or should I ignore it? In the tutorial, the guy has everything on zero at all three joints. And I can’t freeze either. I frozen the Controller before using the orient constraint.
In another video, I’ve seen the use of a parent constraint, which is good for me. everything is zero.
Thanks a lot

Does the control curve have the same exact orientation as the joint you are constraining? If it does not, then that could be why you are seeing an offset when using ‘maintain offset’.

I added curve to the joint like this: first select the curve, then select the joint, then Modify / Match transformations / Match all transformations. Then I turned it.
This is what happened in the video. Still, after he used the orient constraint, Offset x, y, z and rotate x, y, z, stays 0. This link can be viewed from 7:40.

I try to upload a screenshot of my project, and hope you can see what I am talking about.

In the video you provided, it looks like he has his control curves parented under groups. You may want to try matching the group transforms to the joint transforms instead of matching the control curves to the joints, and then zero out the rotations on the control curves. The groups above each control do not need to be frozen after matching transforms. They act as an orientation buffer or holder for the control curve.

2 Likes

Thank you so much, this was the solution you wrote. It works.
I would have another question. I would like to adjust the orientation and
position of the joint in the fingers. It can be done in “Move Skinned Joints” mode.
How can I do this without changing the fingers on the other hand? And can the settings be mirrored?
I know I can before I associate the joint with the character. But what is the way to do this after the connection?
If I use the “unbind skinn” function, I do not know if I will have a problem, for example, in setting of the controllers or keeping the weights.
Thank you for the answer

If you would like to move the joints after binding them to your character, I’d recommend saving your skinweights out to an xml file under Rigging > Deform > Export Weights. Unbind the skin, move your joints around, and then use Rigging >Deform > Import Weights to get your skin data back. After you move your finger joints on one hand, I’d just use Maya’s Mirror joint tool. Delete the finger on the other hand, and mirror it back over from the other hand. I don’t know of a way to mirror the movement of a joint when using the ‘Move Skinned Joints Tool’. Hope that helps!